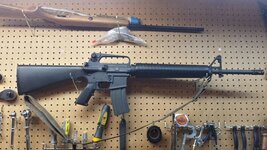
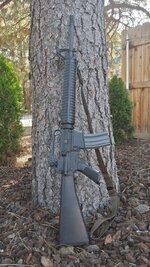
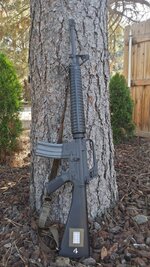
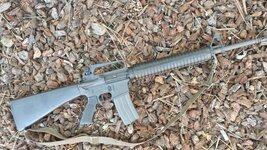
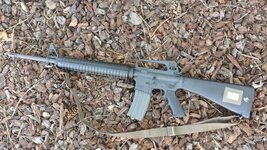
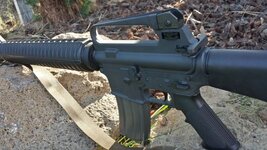
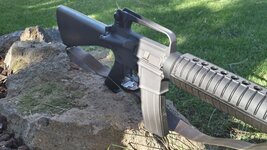
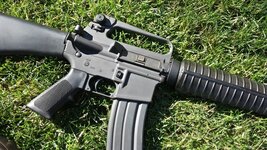
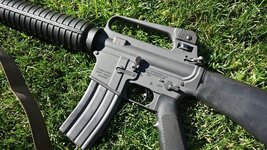
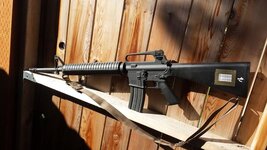
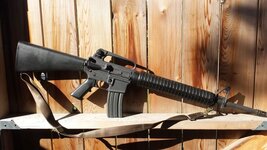
I decided on a color ratio of 0.579 to 1.0, flat (SOCOM) black to flat gray-black. (19 mL gray-black to 11 mL black if my math is right there...) My initial estimate of 30 mL was off, and I ended up mixing up another 15 mL *two times* (super PITA) during the spraying phase, but I also wasted a lot of paint. I would estimate about 45 mL of paint should do an upper and lower receiver, a charging handle, and the trigger guard with a little left over if need be.
I wanted to ensure a flat appearance, so I heated the parts to 200 degrees F prior to coating, bringing them out each one at a time. I noticed that if you burn through the anodizing when blasting, and the surface is not uniform in the ratio of anodizing to bare aluminum, you will have "light spots" as you coat. To avoid spraying on too much at once and getting a shiny coat in the end, I would spray two or three passes at 14 psi, then return to the 200 degree oven and switch parts. John warns of this in the instructions that if the part is too hot, you will build up a rough texture like sand paper in the finished product. He is exactly correct However, I found that after the part had cooled, you can take a terry cloth and "rub" the part vigorously and it smoothed right out, and retained a flat finish. So going forward, it's something I'm OK knowing that I can correct it and still end up with a flat finish.
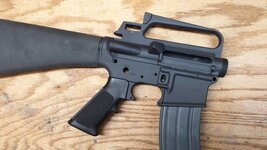
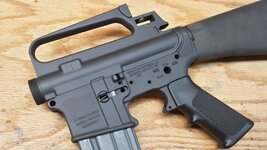
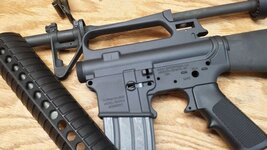
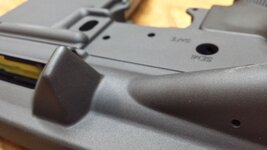
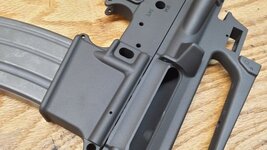
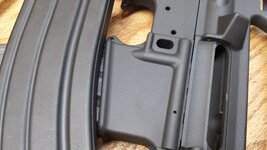
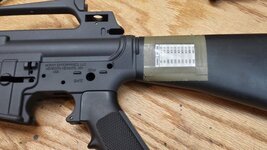
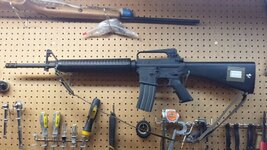
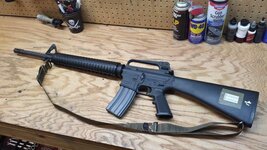
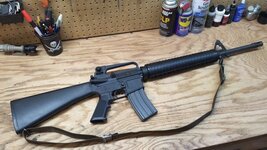
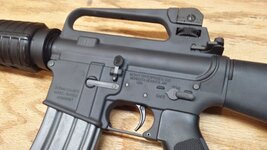
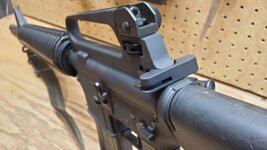
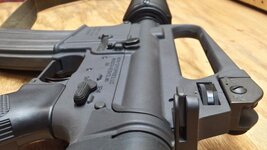
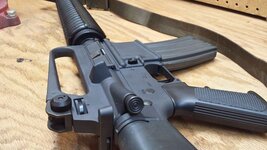
When satisfied with my coats, I hung the parts up and pre-heated the oven to 300 degrees F per John's directions. I baked mine at one hour and 10 minutes. The 10 minutes was purely for the hell of it...no other reason. Now on with the pics!
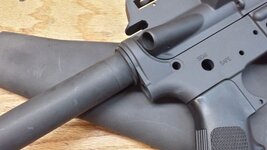
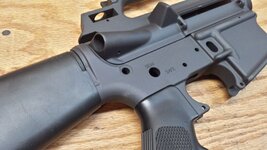
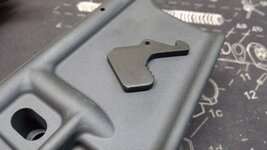
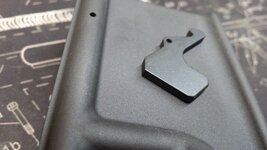
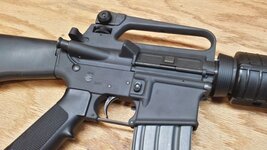
(oh, pardon the dust and paw prints on the close ups in the shop. That is not the finish, that's me handling them with filthy hands)
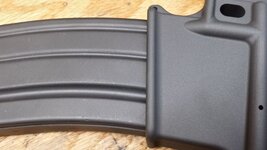
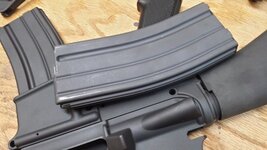
Color comparison to my 1:1 ratio (magazine)
The magazine on top is one that was coated in 100% "gray-black" for comparison
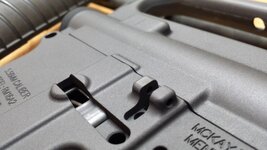
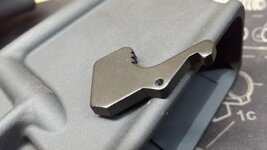
Results from my initial horrible screw up...I tried the 325 degrees F at one hour, 45 minutes, and it was waaaay too green and shiny for me. Be careful if you go with the green tint. I had a part I just did at 300 degrees at one hour and it still had a little green tint, so I think the paint is very touchy to exact temperatures (as others have stated). This charging handle latch shows the results of that batch compared to the final finish. I left it because it's a steel part, but there's a big difference. Do note, though, that if you botch a project, you can always take it back to the blasting cabinet and start over. There *is* a reset button


I wanted to ensure a flat appearance, so I heated the parts to 200 degrees F prior to coating, bringing them out each one at a time. I noticed that if you burn through the anodizing when blasting, and the surface is not uniform in the ratio of anodizing to bare aluminum, you will have "light spots" as you coat. To avoid spraying on too much at once and getting a shiny coat in the end, I would spray two or three passes at 14 psi, then return to the 200 degree oven and switch parts. John warns of this in the instructions that if the part is too hot, you will build up a rough texture like sand paper in the finished product. He is exactly correct
When satisfied with my coats, I hung the parts up and pre-heated the oven to 300 degrees F per John's directions. I baked mine at one hour and 10 minutes. The 10 minutes was purely for the hell of it...no other reason. Now on with the pics!
(oh, pardon the dust and paw prints on the close ups in the shop. That is not the finish, that's me handling them with filthy hands)
Color comparison to my 1:1 ratio (magazine)
The magazine on top is one that was coated in 100% "gray-black" for comparison
Results from my initial horrible screw up...I tried the 325 degrees F at one hour, 45 minutes, and it was waaaay too green and shiny for me. Be careful if you go with the green tint. I had a part I just did at 300 degrees at one hour and it still had a little green tint, so I think the paint is very touchy to exact temperatures (as others have stated). This charging handle latch shows the results of that batch compared to the final finish. I left it because it's a steel part, but there's a big difference. Do note, though, that if you botch a project, you can always take it back to the blasting cabinet and start over. There *is* a reset button
