Bronze Supporter
- Messages
- 5,250
- Reactions
- 10,736
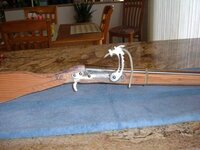
This is my first time, so I'm taking it slow. Nothing in the way of an authentic style, just what looked neat to me. .62 Cal. smooth bore.
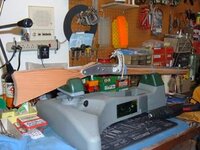
 Me and a 3' long pipe tapping the breach. That steel sure is tough.
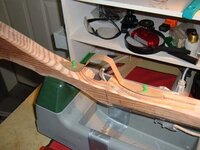
 Roughing out the stock. So far the most expensive piece. I had to buy a 2"x 10" x 6'
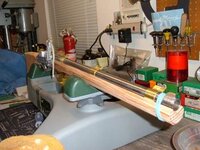
 Unfinished shotgun barrel from Numrich Arms. $30.00. I think it's a 20ga. Sure was rusty..but cleaned up nicely.
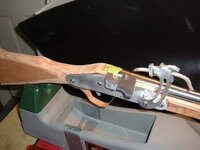
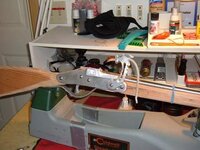
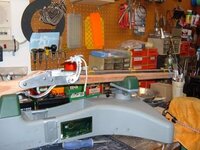
 Planing the cock and trigger linkage.

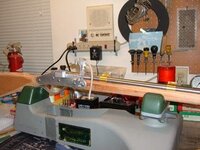
Only about 2/3 done. I had to order some more Dremel sanding drums. Next will be the side plate, trigger and linkage. This project sure makes me appreciate someone in the Middle East, hunkered down over his bench making an AK47 out of an old railroad rail.
 A few near misses, but so far no blood has been shed.


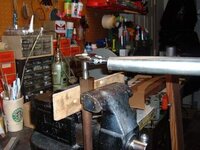 Me and a 3' long pipe tapping the breach. That steel sure is tough.
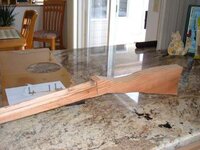 Roughing out the stock. So far the most expensive piece. I had to buy a 2"x 10" x 6'
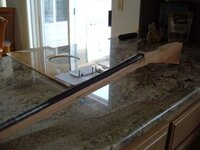 Unfinished shotgun barrel from Numrich Arms. $30.00. I think it's a 20ga. Sure was rusty..but cleaned up nicely.
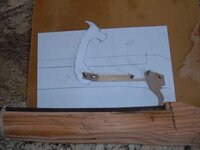 Planing the cock and trigger linkage.
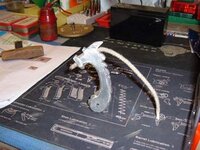
Only about 2/3 done. I had to order some more Dremel sanding drums. Next will be the side plate, trigger and linkage. This project sure makes me appreciate someone in the Middle East, hunkered down over his bench making an AK47 out of an old railroad rail.
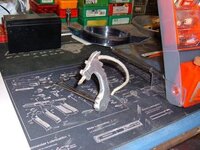 A few near misses, but so far no blood has been shed.


