Join the #1 community for gun owners of the Northwest
We believe the 2nd Amendment is best defended through grass-roots organization, education, and advocacy centered around individual gun owners. It is our mission to encourage, organize, and support these efforts throughout Oregon, Washington, Idaho, Montana, and Wyoming.
Never seen or heard of it being done this way before, but am wondering how well it would work?
Does anyone here have any experience with this?
(watch the video)
Variation on bore sighting. Have done this minus the 'deprimed' brass (kind of a tiny hole for old eyes). If you can remove the bolt and see through the bore it works.
This can be done at 25 or 100 yards.
Remove the bolt.
Position the weapon on a stable platform.
Align the bore to the desired POI.
Adjust the scope (or sights) to the bores POI
Assemble the bolt and take the shots (3x, don't trust a single shot)
Fine tune if needed.
Never seen or heard of it being done this way before, but am wondering how well it would work?
Does anyone here have any experience with this?
(watch the video)
I happened to have 25 yards in my back yard. A table with a rest and chair. And a full size poly cone with a white top. Set the gun in the rest and adjust it so you can see the white top of the cone down the bore. Then look through the scope and adjust to see the white cone top. When I got to the range it was almost dead on centered and 6" high. About 12 clicks down and a couple or three left. Bingo! Same basic thing. If I do it again, the unprimed brass looks like a good idea too.
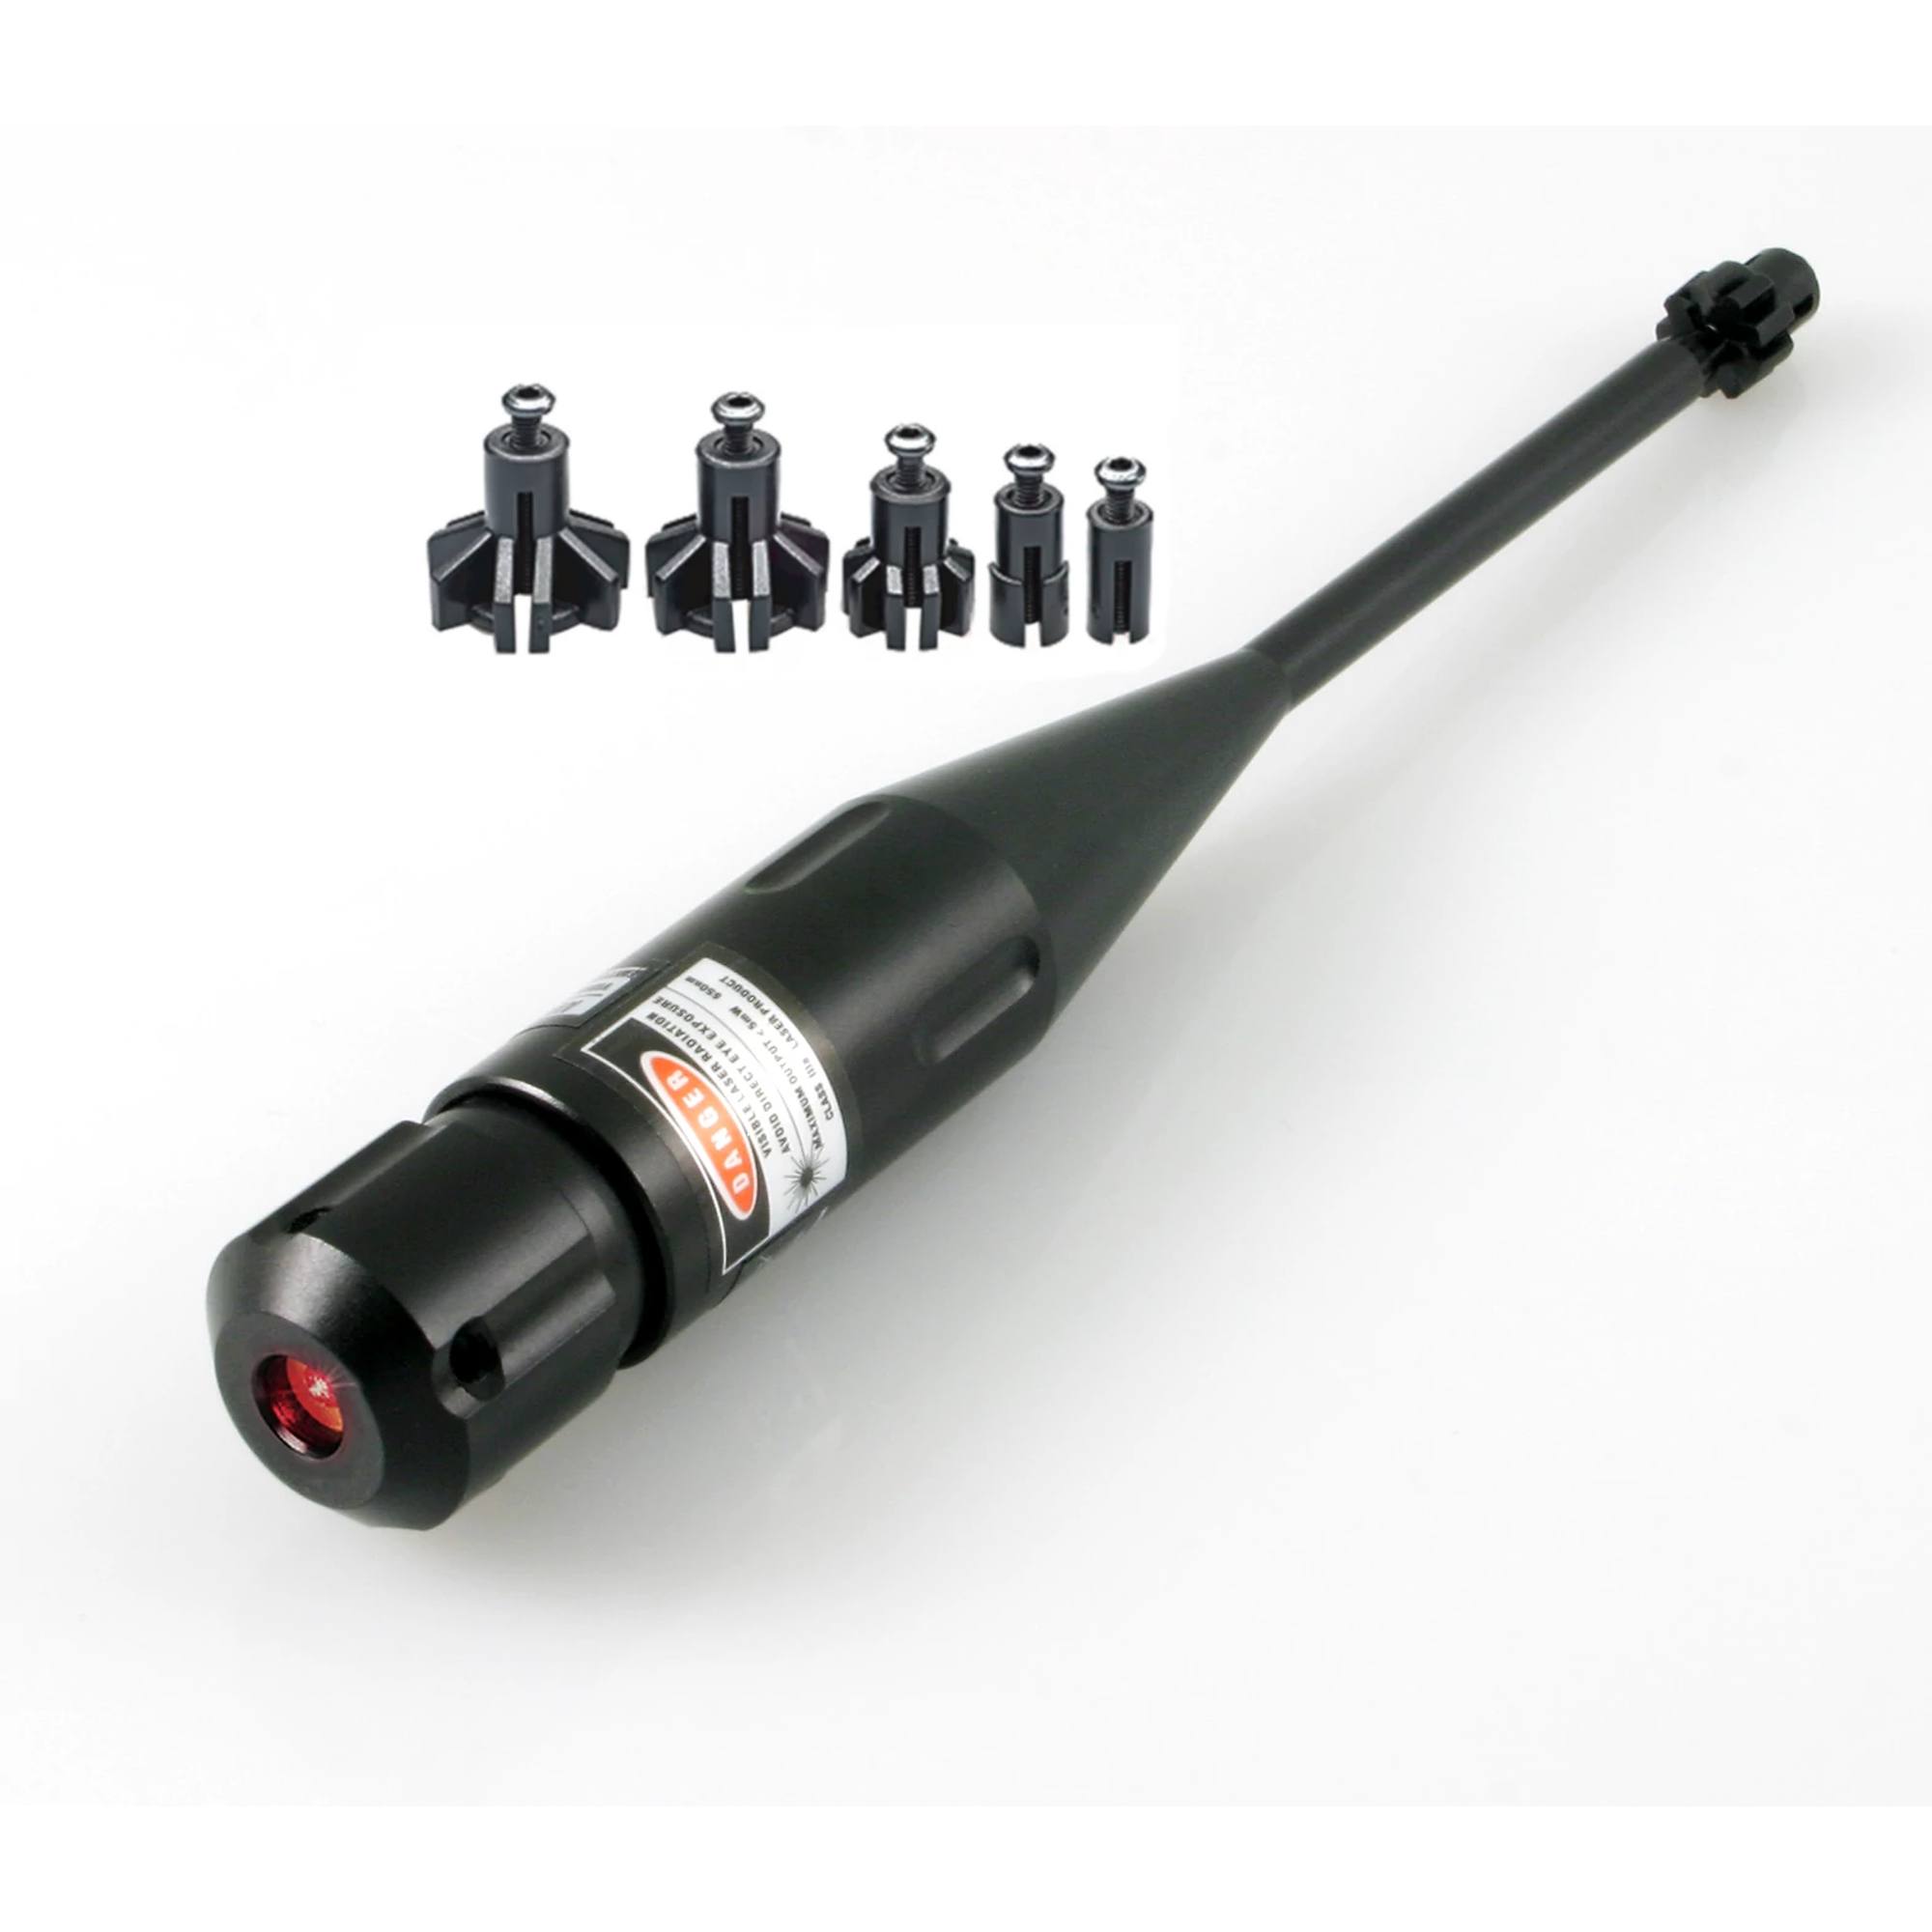
I had bought a used Bushnell Laser Bore Sighter from a member. It worked fine, but was more difficult to set up the the method above. Now though, the cat loves it!
Never seen or heard of it being done this way before, but am wondering how well it would work?
Does anyone here have any experience with this?
(watch the video)
If our Supporting Vendors don't have what you're looking for, use these links before making a purchase and we will receive a small percentage of the sale